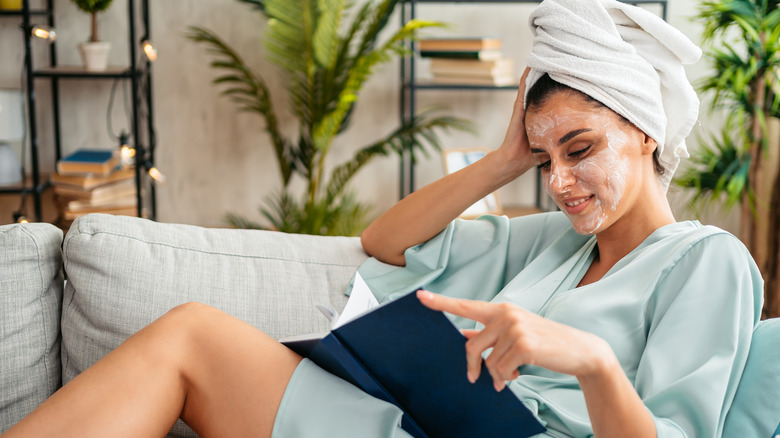
How To DIY A Rice Face Mask For Glass Skin
With the popularization of Korean skincare in Western beauty trends, we've all come to love certain soothing ingredients that our own products don't often include. It's no secret by now that K-beauty trends and products prioritize calming and barrier-restoring ingredients over any harsh active we might favor in Western formulations. From snail mucin to Centella Asiatica, Korean skincare has introduced our market to the best of its soothing skincare components. Rice and rice water, for example, are two ingredients K-beauty swears by that we don't usually find in American skincare. Plus, these particular ingredients don't need to be regulated or stabilized in a lab — like vitamin C, for example — to be safely used on your skin, meaning that a rice face mask is definitely something you can DIY for a fraction of the price of your favorite sheet and clay masks.
According to board-certified dermatologist and YouTube creator, Dr. Andrea Suarez, rice water's many properties can reduce some of the damage from ultraviolet (UV) radiation and air pollution. "Amino acids, humectants, anti-oxidants — these are all things that can help undo some of the damage," she says.
All you need for this at-home mask is white rice, rice water, and a blender. The results? Clear skin with a natural glow, unlike anything you've experienced with store-bought skincare. Prepare yourself for glass skin.
Rinse your rice
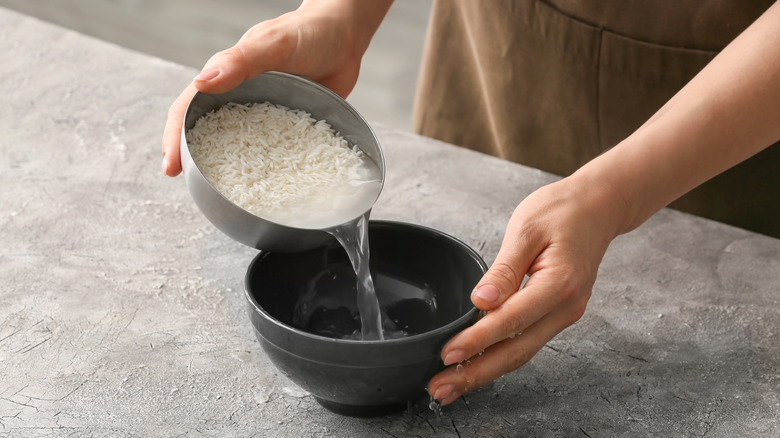
Just like the rice you cook for your meals, the rice you plan to use for this DIY mask should be thoroughly rinsed at least twice. We do this for the same reasons as we rinse our cooking rice — first, to wash off the excess starch and bran oil, and second, because the product may still have debris from its pre-packaging and packaging stages, per Southern Living. These are removed for consumption, but should also be washed away to prevent potential pore-clogging from the natural oils of the rice. This can prevent dust and debris from coming into contact with our skin, as explained by the Cleveland Clinic. This ensures you get all the benefits without the potential skin irritants and pollutants.
Take half a cup of rice and rinse it thoroughly. With a strainer, move the rice around beneath a steady stream of tap water for easy rinse and drain. Gently stir the rice with your (clean) fingers to make sure all the grains are evenly rinsed under the flow of the water. Then, rinse and repeat. Drain the water well before moving on to the next step.
Boil until rice is slightly undercooked
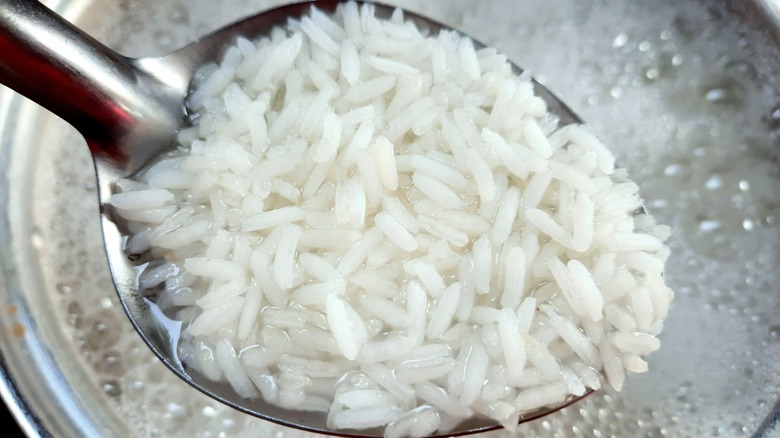
Once your rice is clean, the next step is to cook it — but not all the way. You'll want to boil your white rice in 1 cup of water until it is cooked roughly around 70% to 80% of the way. At that point, the rice will not have absorbed all the water and will look wet, goopy, and almost slimy. This consistency is ideal for our purposes and will help the rice stick to your face. Plus, the benefits are enhanced since the rice didn't boil for long enough to leach all its properties, some of which are antioxidant in nature, per Healthline. This and other soothing properties are especially beneficial for people with skin conditions, like eczema, those who suffer from redness, irritation, or excessive dryness, according to MedicalNewsToday.
When you reach this step, make sure to keep an eye on the rice at all times to avoid overcooking it. Once you're done, do not drain or throw the leftover rice water away — you'll need it for your mask.
Blend with rice water
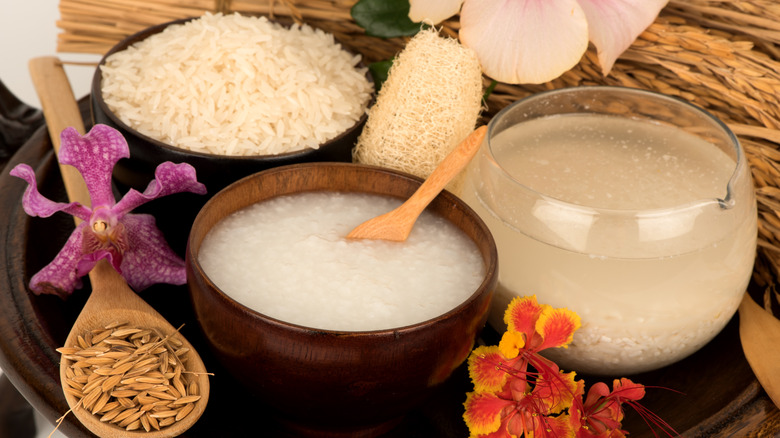
Once your rice is the right consistency — undercooked but not raw, and goopy but not drenched — you're going to blend it with its remaining rice water. Due to its nourishing properties, rice and rice water are commonly used in Korean skincare products and at-home skin remedies. Rice water has been found to have collagen-boosting and antioxidant properties, according to Healthline, which help with a variety of skin concerns and conditions. If you suffer from acne, eczema, rosacea, dry skin, and even damaged hair, rice and rice water might just be the answer to your problems.
For this step, take 2 tablespoons of your undercooked and cooled-down rice, and blend it with 4 or 5 tablespoons of rice water. A smaller, handheld blender is best, but any blender you have at home will do. Proceed to blend in small increments until your mixture reaches the right consistency, which is that of a sticky paste — not too thick, not too thin. Add small amounts of rice water as needed or if your mixture is too stiff. What you want is for the mask to be able to stick to your face and be easy to spread.
Many of the studies proving the benefits of rice water do so by studying fermented rice water. For better results, blend your rice with fermented rice water instead of plain rice water.
Apply and glow
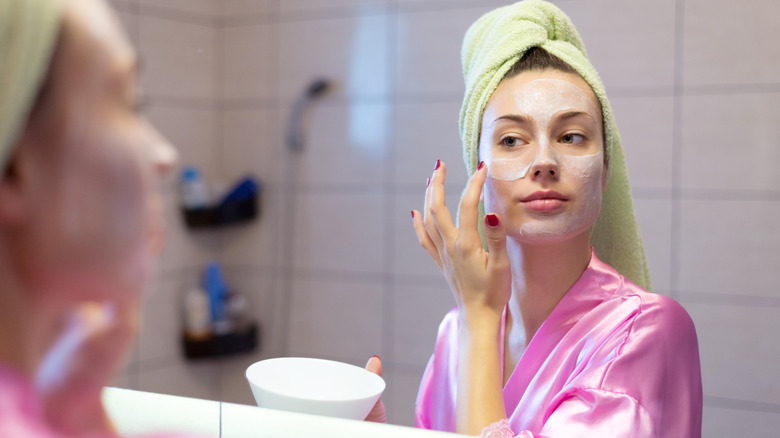
Once you're done blending your mixture to perfection, you're pretty much done. Any extra ingredients are optional, though some people advise adding ingredients like milk and honey to help the mask stick to your skin better. These additions can also provide further moisture and anti-inflammatory properties, according to Healthline. In our opinion, DIY rice masks work best the simpler they are.
Your last step is to apply the rice mask all over your face and leave it on for around 10 to 15 minutes — or however long you typically apply your usual face masks — for the best results. Do this on clean skin to prevent trapping unwanted dirt, sweat, or face products under your DIY mask as it does its magic. Don't worry about the rice clumping up in certain places more than others. The rice water will always spread evenly, ensuring equal distribution of the benefits of rice all over your face.
Once the face mask has done its work, rinse the mixture off with water and continue with your regular skincare routine. If all goes well, you'll notice a radiant, glass-like smoothness immediately after using.